Last Friday I had a couple over for their pre wedding meeting and while discussing wedding albums they told me some of their friends who had chosen disc only packages with their photographer still only had a disc of photographs a year or more after their wedding. This is something I hear a lot and I know it often looks like buying just a disc of photographs from your photographer is the cheapest option, but in many cases it isn’t by the time you pay for your own album and couples often never get around to making their own album as they underestimate how much work is involved.
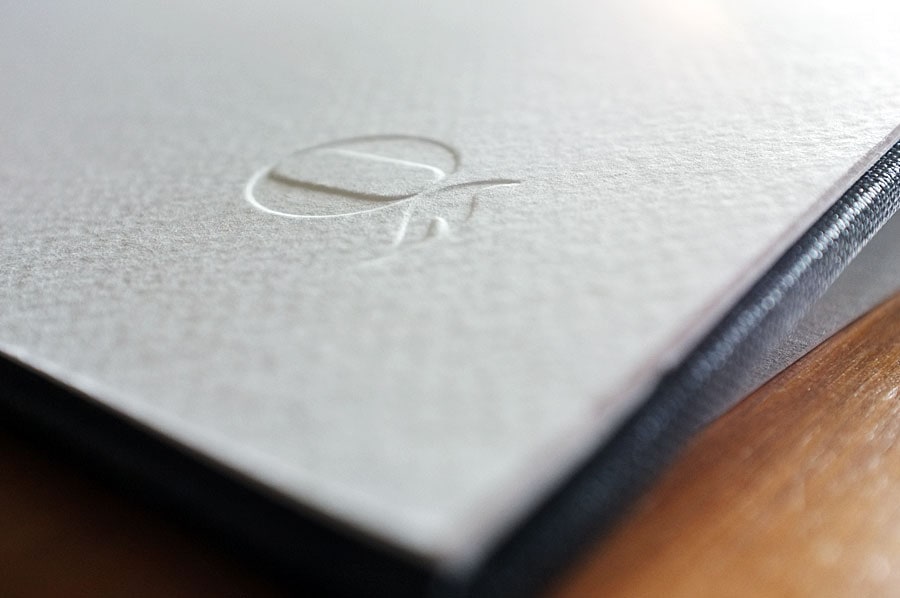
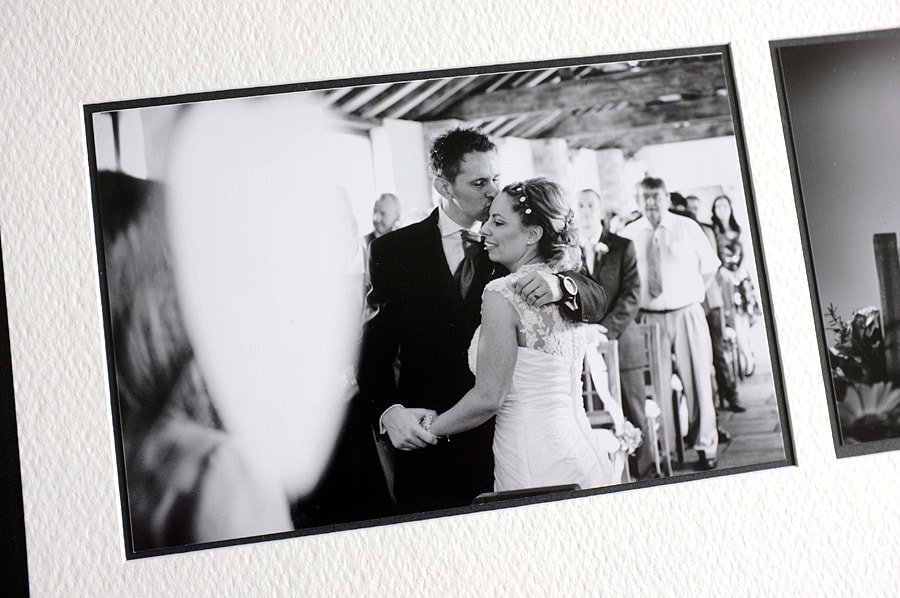
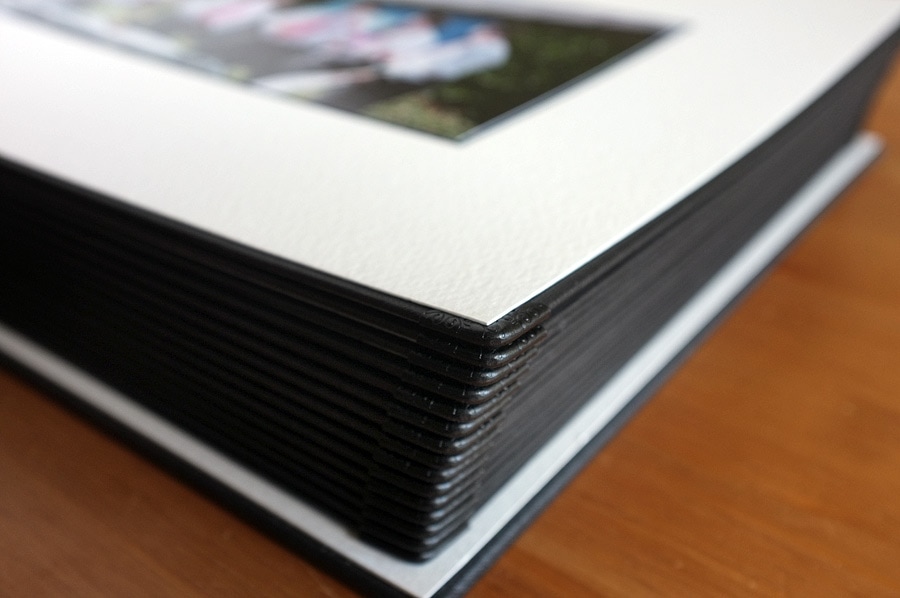
I thought it would be good to share with you what goes into making one of my wedding albums, in total this process takes me at least 25 to 30 hours. I could cut corners or get the album company to print and assemble these albums for me, but I like to have total control over the process and this goes back to the days I processed my wedding photographs in a darkroom. I use high quality giclée prints for these Queensberry albums, I make the prints myself using museum quality archival materials that will far outlive the usual life of a photograph. This is a more expensive option than sending the photographs to be printed on photographic paper by a lab but it gives the best quality and a print life of around 150 to 200 years.
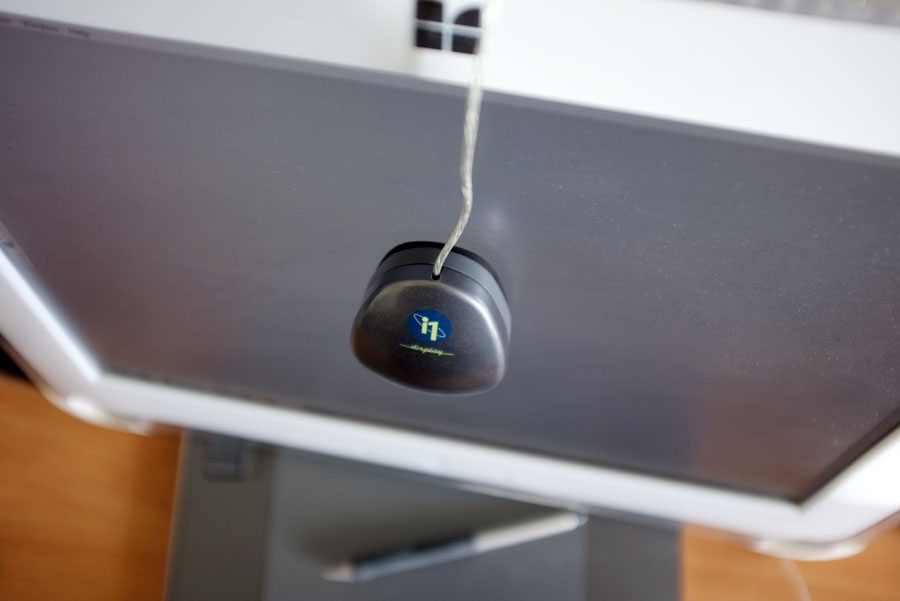
The first step in the process is to calibrate my monitor to ensure what I see on screen is very close to what I will see in print.
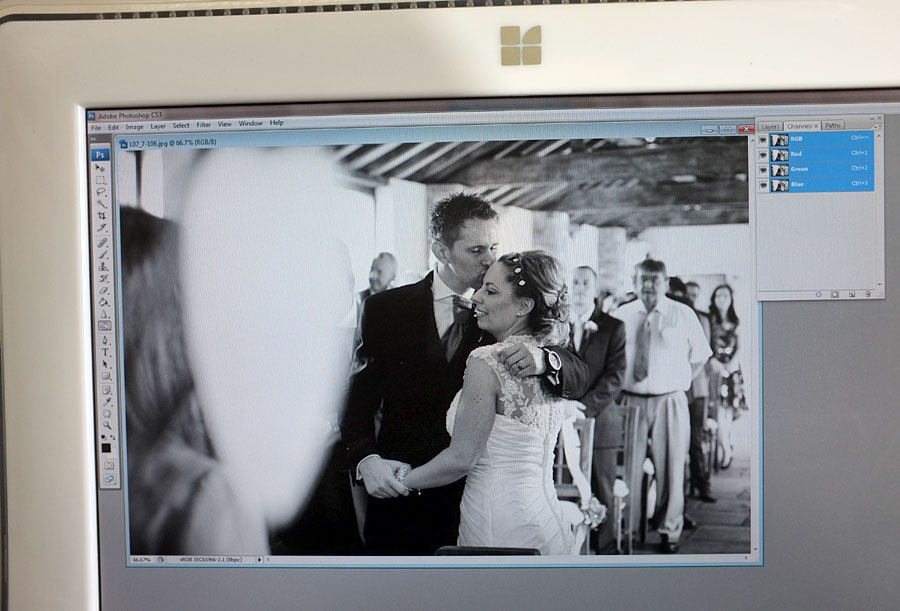
Once I have calibrated the monitor I make an ICC colour profile which can be used by both my monitor and print software. The next step is to prepare all of my images for the album, for this I use Adobe Lightroom and Adobe Photoshop. This is very time consuming. If you are purchasing a disc of images from me I would have already completed these stages of processing.
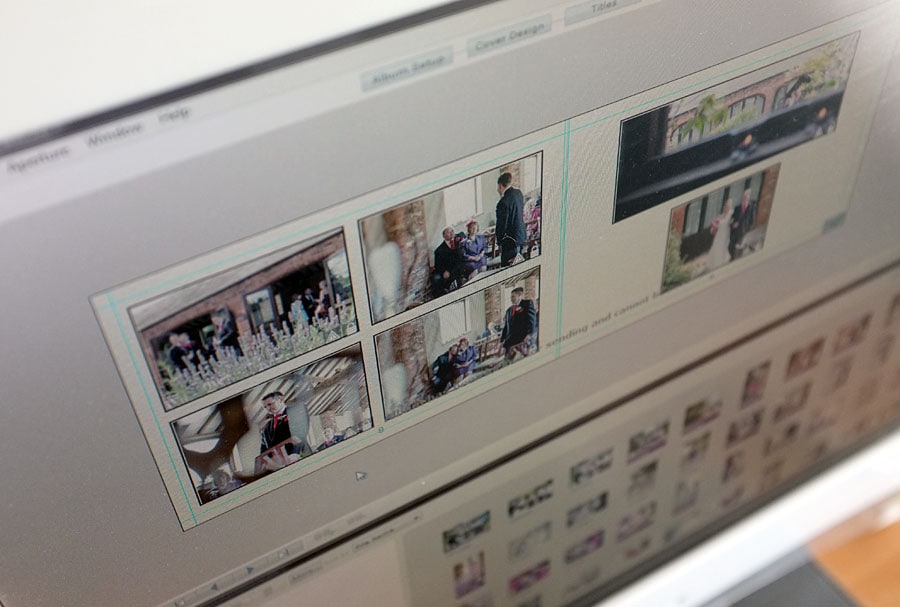
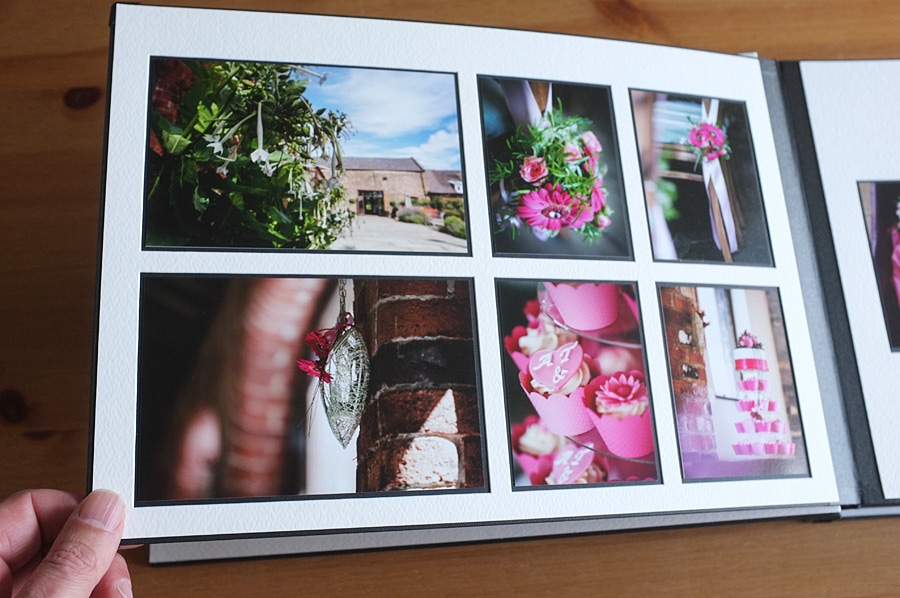
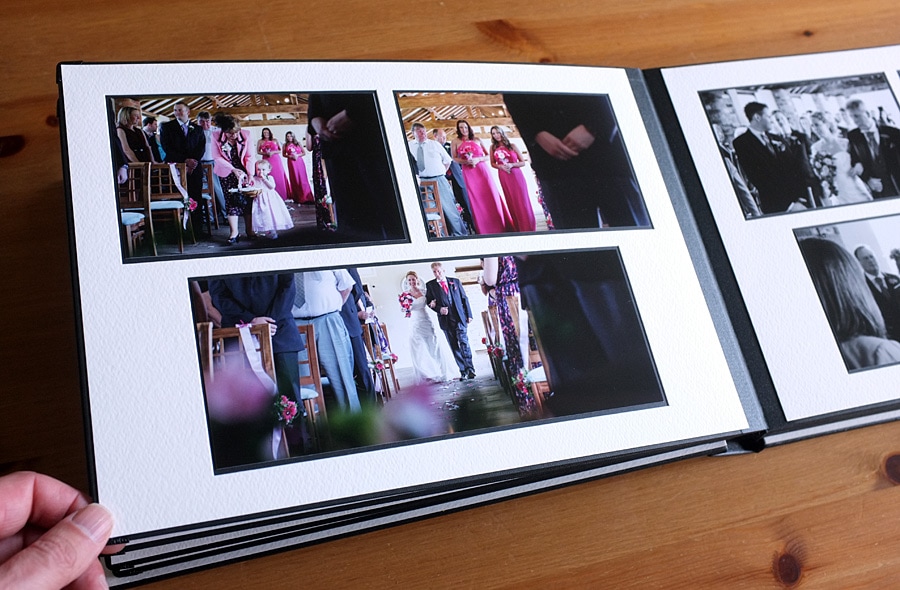
The next stage is to design the album in specialist software and to ensure all the photographs are properly aligned. I do not like to mix colour and black and white together on the same page as this looks very distracting to the eye. The photographs are laid out to show the story of the day.
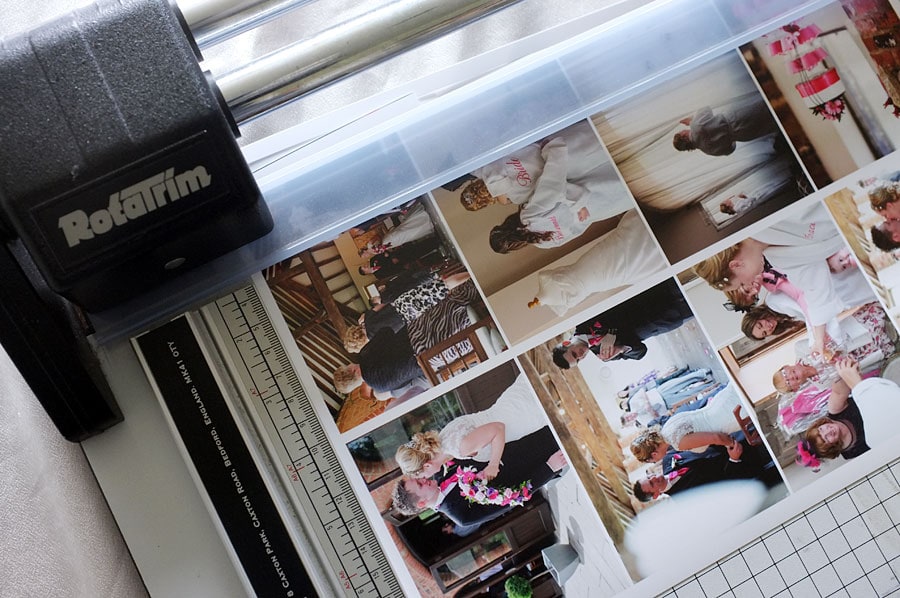
The album is then sent off to Queensberry in New Zealand for production and arrives back with pre cut apertures for the photographs. While Queensberry are making the album I make the photographs, these are produced in a high end printer using special ultra chrome inks. RIP software looks after the printing, ensuring the correct colour profile is being used and the black and white prints are true black and white rather than having a slight colour cast. The photographs are printed several to a page ready for the next stage which is trimming them all by hand. Each photograph will require at least 4 cuts through the trimmer and these all have to be millimeter perfect, this generally takes about 3 or 4 hours and is probably my least favourite part of the process.
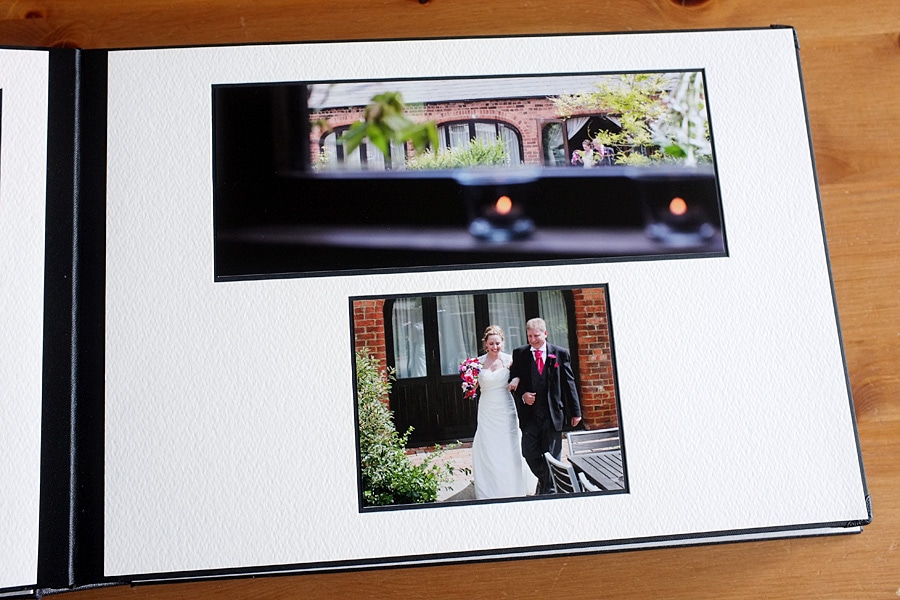
By this stage I have the album back from New Zealand and can start the process of putting the photographs into the correct apertures in the album using acid free materials to secure them in place.
Once the album is assembled I check through it and make sure it passes my quality control checks before carefully packaging it for posting out to my clients. I really do love seeing the finished album.
Many of my couples purchase both an album and the digital files. The files disc is great for you to make your own prints from, but you might want to consider how much work is involved in making an album before considering just the digital files.

